Clients play a vital role as they leverage OpsRamp’s features to efficiently manage and monitor their IT infrastructure. The platform provides a unified solution that meets the evolving needs of organizations, allowing them to effectively manage and optimize their IT operations.
Following are the key benefits of the platform:
Clients benefit from the platform’s extensive monitoring, automation, and incident management capabilities to ensure proper functioning of the IT resources. This helps in proactively identifying issues and resolve issues before they impact operations.
Automating routine tasks and workflows leads to increased efficiency and reduced manual efforts and operational cost.
As a Partner, you can modify single or multiple client details. This allows you to provide tailored IT management services to meet each client’s needs. You can configure tenant-specific stringent policies and settings to ensure they meet security and compliance requirements.
Following is a quick overview of the sections:
Account: Allows you to view and update Account information such as Name, Notification Email, Country, Timezone, City, State, and other relevant information.
Security: Allows you to configure strict password policies and settings for improved security to prevent unauthorized access and breaches.
Advanced Settings: Control over availability, log management, NOC (Network Operation Centers) for alert management, integration settings, and remote access management.
BRANDING: Configure custom branding for the client. Using custom branding, you can customize the platform UI by adding company logo, providing a website title, and changing the look and feel of the website to match the company theme. See below for more information. Note: When you add a new URL in production, you must contact support to have a DNS entry added for the new URL.
Following are the permissions required to perform various tasks.
Type of user
Permission
User action
MSP user
Clients_View
To view Clients card in Setup > Account.
MSP user
Clients_Manage
Edit client details.
MSP user
Clients_View
View client details.
Modify client details
You can modify the following sections:
Tabbed Interface with Table
ACCOUNT
SECURITY
ADVANCED SETTINGS
BRANDING
ACCOUNT
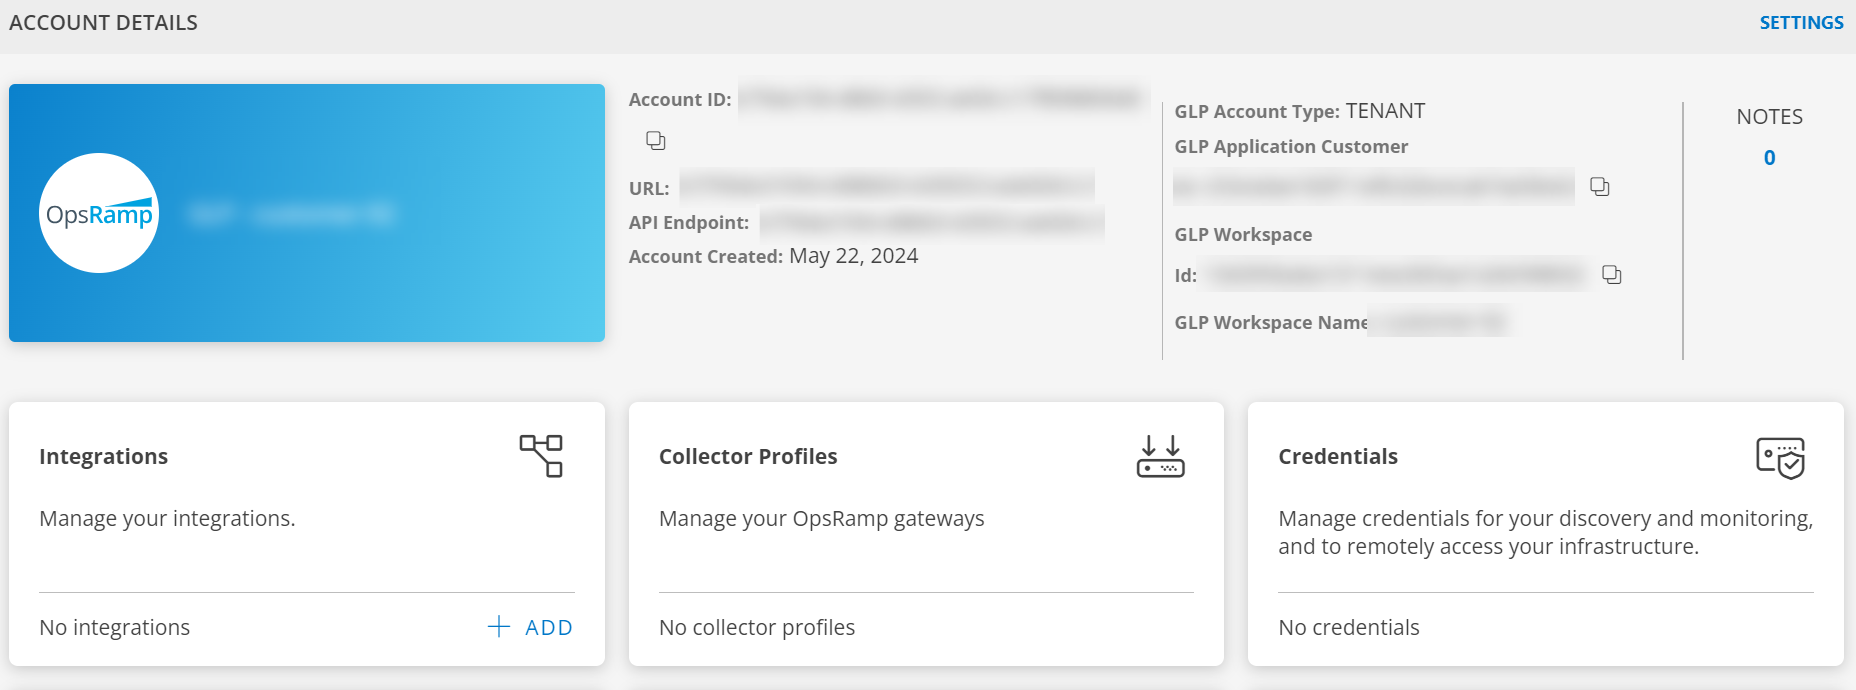
The Account section has critical information and settings about your client. It allows you to modify personal information like Name, Notification Email, and other contact details.
Click Setup > Account. The ACCOUNT DETAILS screen is displayed.
Click Clients tile.
Search for the client in CLIENTS LIST screen and click on client name. The ACCOUNT DETAILS screen is displayed.
Click SETTINGS.
Enter the following information in ACCOUNT SETTINGS screen: CLIENT DETAILS
Field Name
Field Type
Description
Name
String
Name of the client.
Alternate Email
String
Alternate Email address of the client.
Notification Email
String
Client Email address.
Timezone
Dropdown
Timezone of the client.
Country
Dropdown
Country where the client is located.
City
String
City of the client.
Address
String
Address of the client.
Postal Code
Integer
Postal code
State
String
State in which the client is located.
Click SAVE. The tenant account settings are saved.
SECURITY
Security feature ensures effective Access Management and stringent Password Policy Settings. Access Management allows you to restrict specific IP addresses. Password Policy Settings enables you to implement strict password settings thereby preventing unauthorized access and security breaches.
From ACCOUNT SETTINGS screen, click SECURITY tab.
ACCESS MANAGEMENT
Access Management in OpsRamp includes features such as enhanced security restricting access to specific IP addresses, and enabling the Show Copy Clipboard functionality thereby enhancing usability.
Select one or more of these options as per the requirements:
Restrict Access to Specific IP(s): Restricting access to specific IP addresses can reduce security issues. Enter the IP Addresses separated by comma. The following error message is displayed when you attempt to log into the platform from an IP address other than those permitted: Your organization policies restrict you from accessing
OpsRamp
from your current IP.
Show Copy Clipboard: Select the checkbox to enable Show Copy Clipboard.
PASSWORD POLICY SETTINGS
The Password Policy Settings section allows you to configure password policy, which once configured will apply to all the users of the client.
Change password after next login: Select this option, if you want to change password after next login. This means that all the users of the organization will mandatorily have to change their passwords after they login for the first time. This change will make all login sessions inactive.
You can opt for Default PCI DSS standards or Custom policy.
Default PCI DSS standards: Select this checkbox to apply default PCI DSS standards. You cannot modify the settings.
Custom policy: Select this checkbox and configure the policy settings as per your organizational needs.
Click SAVE. The tenant account settings are saved.
ADVANCED SETTINGS
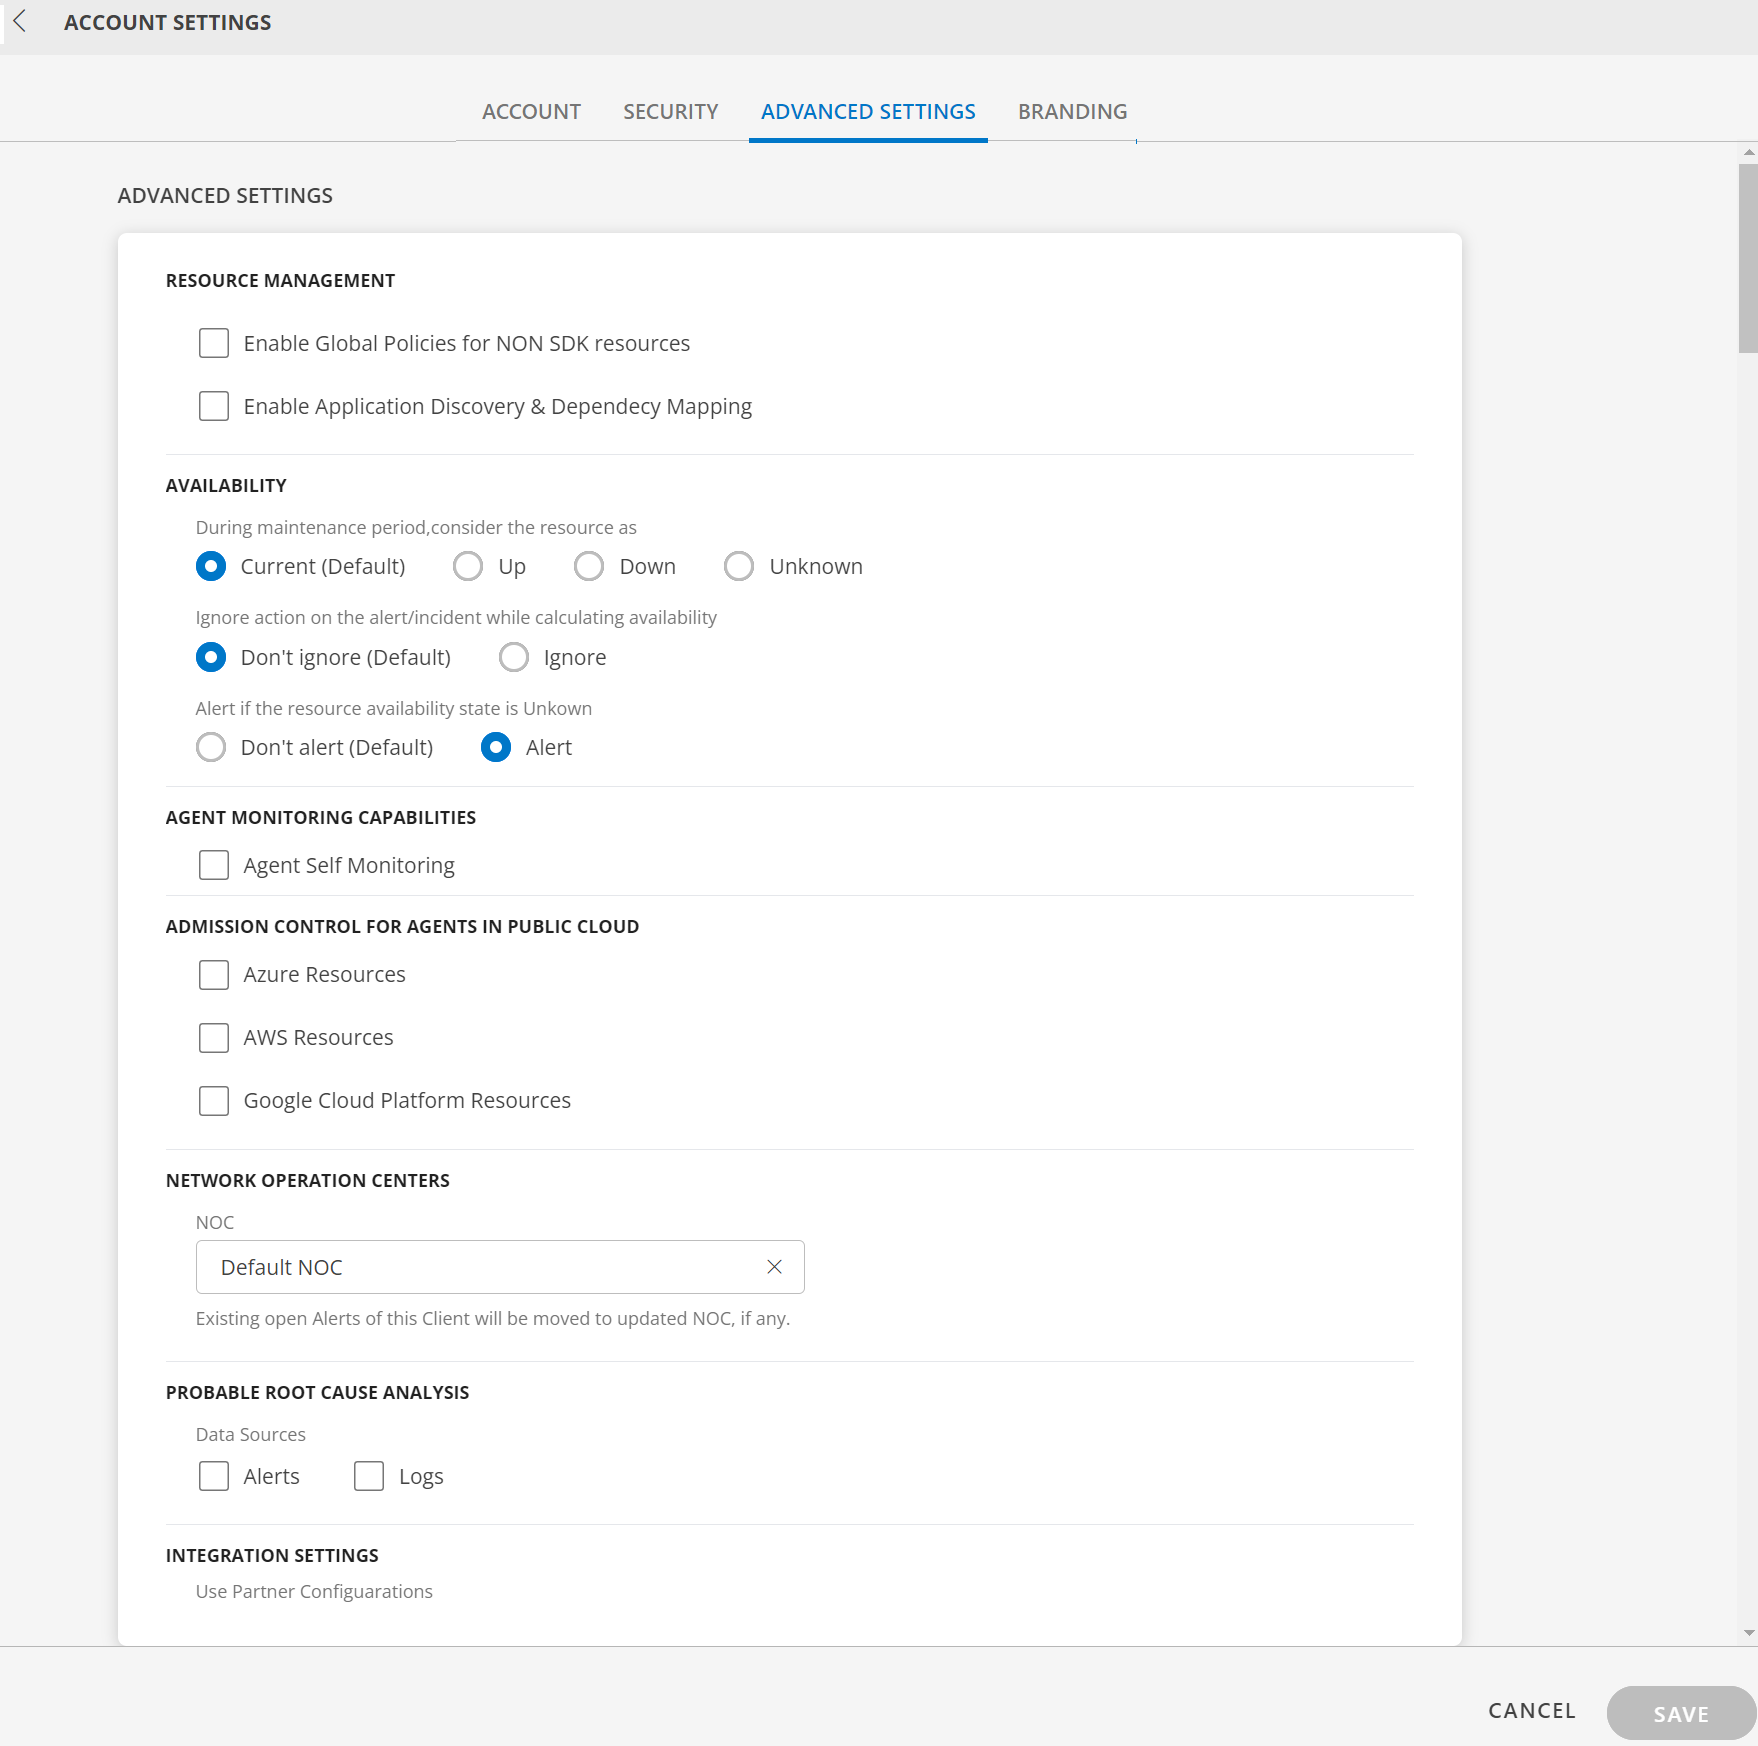
The Advanced Settings section allows you to configure options designed to optimize the management and monitoring capabilities of your client’s IT infrastructure. These settings enable you to have greater control over aspects such as availability, integration settings, log management, NOC for alert management, remote access management, and root cause analysis through alerts and logs.
From ACCOUNT SETTINGS screen, click ADVANCED SETTINGS tab.
RESOURCE MANAGEMENT
Select these options as per your requirements:
Enable Global Policies for NON SDK resources: Select the checkbox to enable global policies for the client.
This flag is considered for non-SDK based resources.
For SDK based resources, regardless of whether this checkbox is enabled or disabled, the Device Management Policies will be automatically applied.
Enable Application Discovery & Dependency Mapping: Select the checkbox to enable application discovery and dependency mapping.
AVAILABILITY
During maintenance period, consider the resource as: By default, the current state is selected. Select the state of the resources during scheduled maintenance period. If you select the state as Up, during scheduled maintenance period the state of the resource(s) will be displayed as Up, even if your resource(s) is powered off / restarted.
Ignore action on the alert/incident while calculating availability: By default, Don’t ignore option is selected. Select an option as per your requirements. If you select Ignore, the system will ignore actions on the alerts or incidents that are suppressed, acknowledged, etc., when resource availability is calculated.
Alert if the resource availability state is Unknown: By default, Don’t alert option is selected. Select Alert option, if you want to receive alerts if the availability state of the resource is UNKNOWN.
AGENT MONITORING CAPABILITIES
Select the Agent Self Monitoring option to enable agent self monitoring.
Choose a time-frequency from the dropdown (supported time frequencies are 1, 2, 3, 6, and 12 hours).
ADMISSION CONTROL FOR AGENTS IN PUBLIC CLOUD
Select these options to enable onboarding AWS, Azure, and Google Cloud Platform Resources, using agent without public cloud integration.
NETWORK OPERATION CENTERS
Select NOC from the dropdown. All the existing open alerts will be moved to the NOC.
PROBABLE ROOT CAUSE ANALYSIS
Select Alerts or Logs or both, as Data Sources. Alerts: If you select Alerts, the system will consider alerts generated to aid in root cause analysis.
Logs: If you select Logs, the system will consider log data from various sources for root cause analysis.
INTEGRATION SETTINGS
Select one or more available custom integrations that you can inherit from the partner’s configurations.
Click SAVE. The tenant account settings are saved.
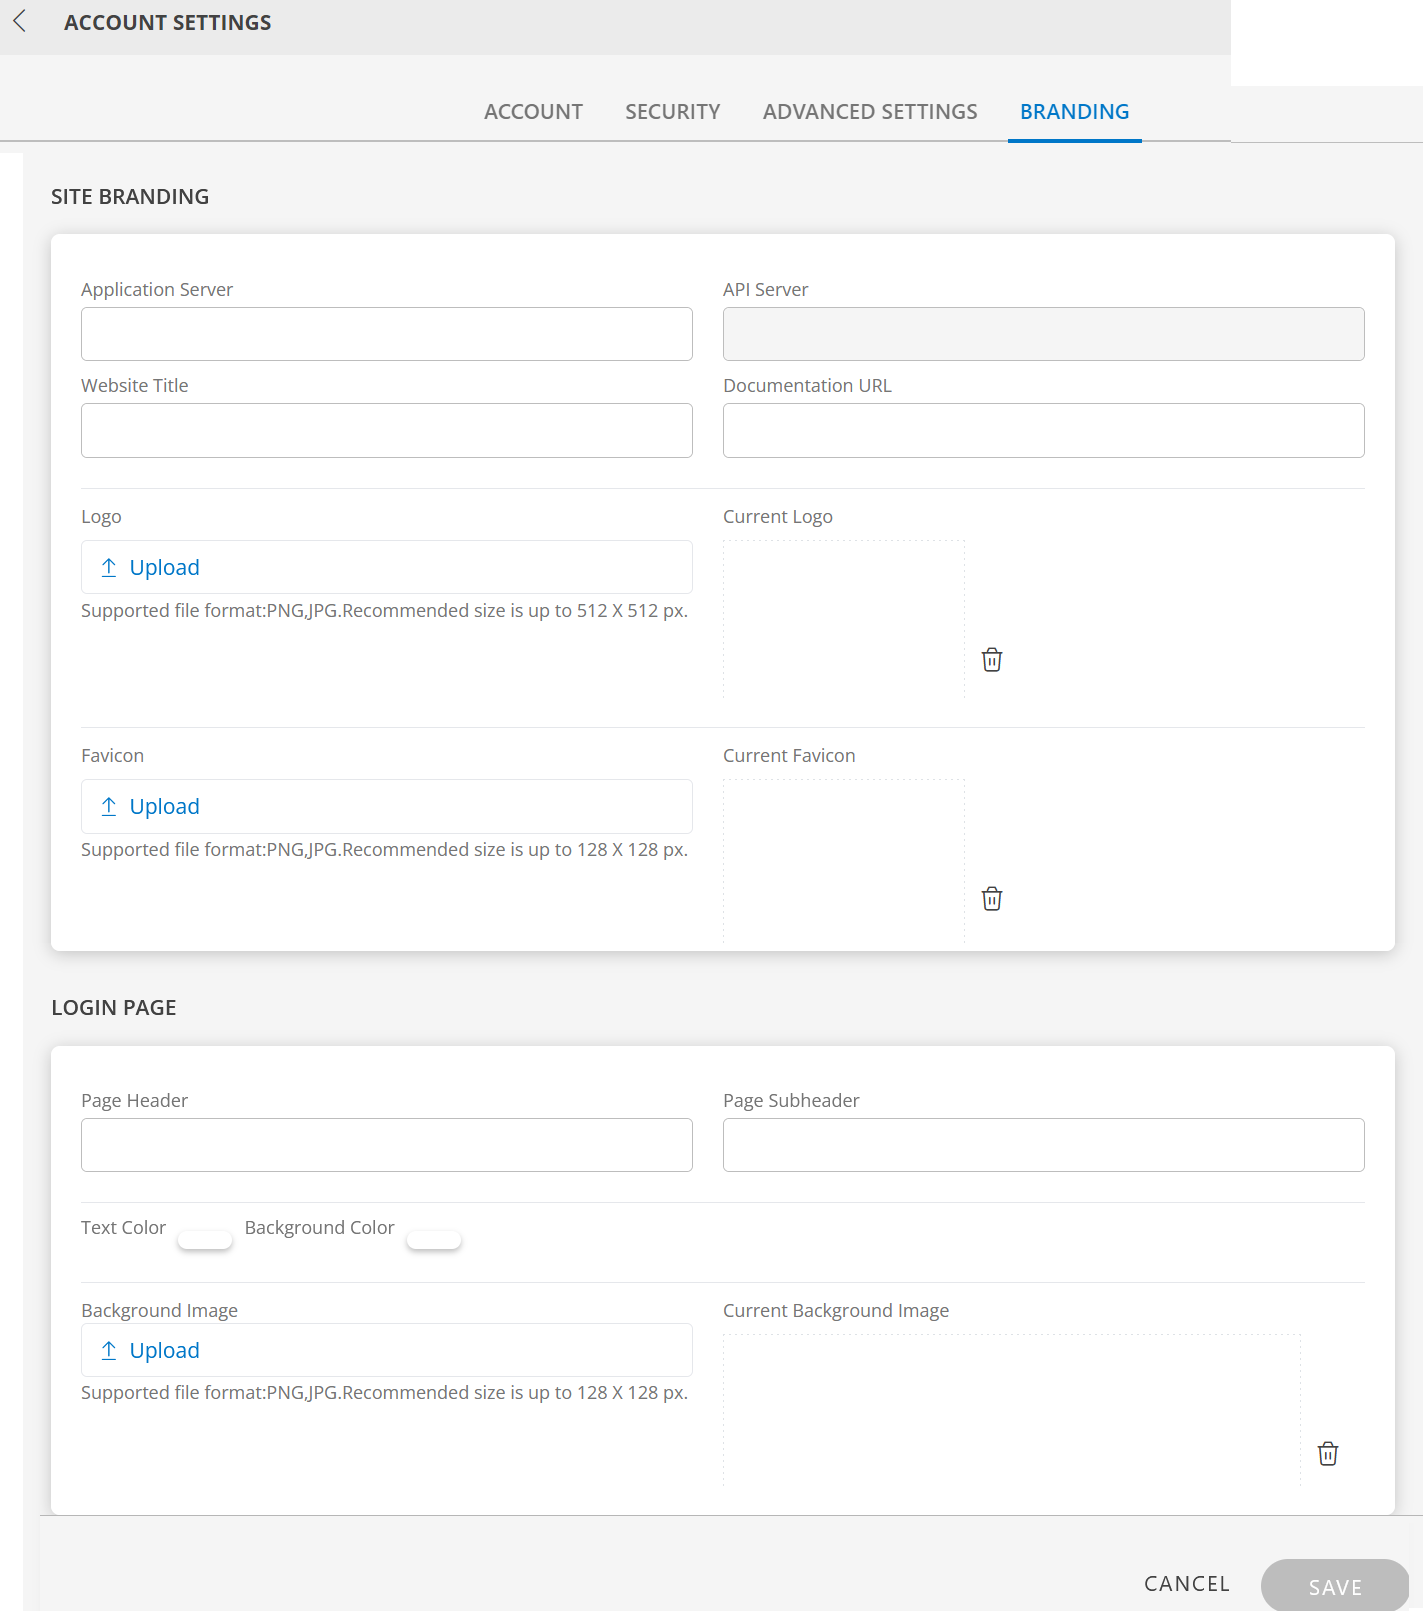
Modify custom branding
Follow these steps to update custom branding settings:
From ACCOUNT SETTINGS screen, click BRANDING tab.
Enter the following branding elements:
SITE BRANDING
Branding Element
Field Type
Description
Application Server
String
Custom URL for the application server. When you add a new URL in production, you must contact support to get the DNS entry added for the new URL. The URL prefix you add is concatenated with the other URL values to create the URL for accessing the custom site. Example: If you specify myurl, the URL to access the new website is https://myurl.app.opsramp.com/ Note: The Application URL format accepts any character, except the following: *, #, &, ?.
API Server
String
Displays the full API server name based on the application server custom URL. This field is not editable.
Website Title
String
Custom website title that is used in the browser tab.
Documentation URL
String
URL of the documentation site.
Logo
File Input
Custom image. A logo that is used for the navigation bar and login page.
Supported file format: PNG, JPG
Size: Less than 10KB (recommended)
Dimension:
Height: 512px
Width: no more than 512px
Current Logo field displays the uploaded logo.
Favicon
File Input
Custom image that is used in the browser tab.
Supported file format: PNG, JPG
Size: Less than 10KB (recommended)
Dimension: square, 128 x 128 px
Current Favicon field displays the uploaded Favicon.
LOGIN PAGE
Branding Element
Field Type
Description
Page Header
String
Header text for the login page. Location is on the first line of the login page.
Page Subheader
String
Sub-header text for the login page. The text displays on the second line of the login page.
Text Color
Color picker
Color of the header and sub-header text.
Background Color
Color picker
Colored layer around the logo.
Background Image
File Input
Background image on the login page. The image appears darker than the original due to an overlay on top of the image.
Supported file format: PNG, JPG
Size: Up to 128 x 128px (preferred)
Dimension: 1440x900 (recommended). Smaller images are tiled. Current Background Image field displays the uploaded Background Image.
Click SAVE. The tenant account settings are saved.
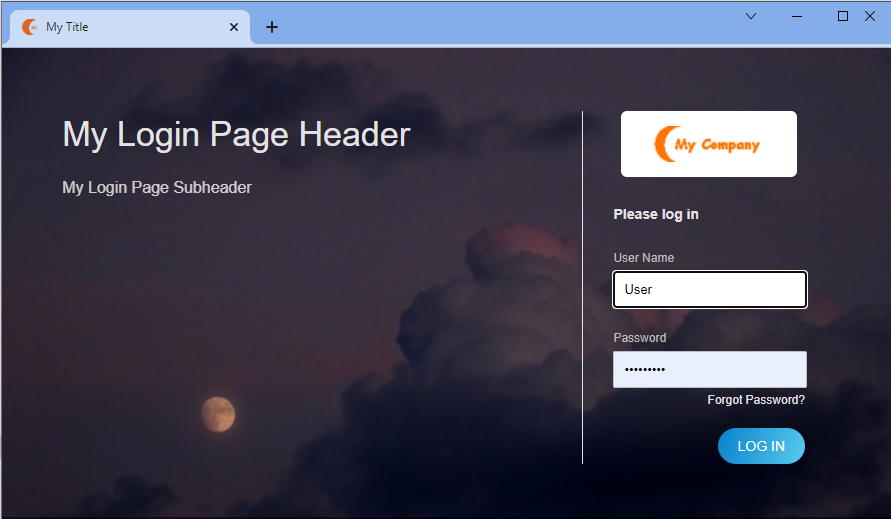
Branding example
Following values define client-level custom branding using a custom logo, favicon, background, and text labels:
Following image shows the custom branding login page:
The client details are displayed in the CLIENTS LIST screen in a tabular form.
Table below shows the columns with their description:
Field Name
Description
Name
Name of the client.
Account Id
Account Id of the client.
Date Created
The date on which the client was created.
Status
The current status of the client.
Terminate a client
Client termination is a process of moving the client to a terminated state and cleaning up all client data. The data will be deleted and can no longer be retrieved once terminated.
A partner administrator with manage clients permission can terminate a client.
The following client data is deleted:
Resources & Synthetics along with asset data
Metrics
Alerts
Tickets
Users
Audit data
Configuration & Policies
Device management policies
Maintenance windows
Alert correlation policies
SNMP trap configuration
Client details
Management profiles
Integrations
SSO configurations
Follow these steps to terminate a client:
Click Setup > Account. The ACCOUNT DETAILS screen is displayed.
Click Clients tile. The CLIENTS LIST page is displayed.
Search for the client you want to terminate using the search box.
Hover over the client name and click the action (three dots) icon.
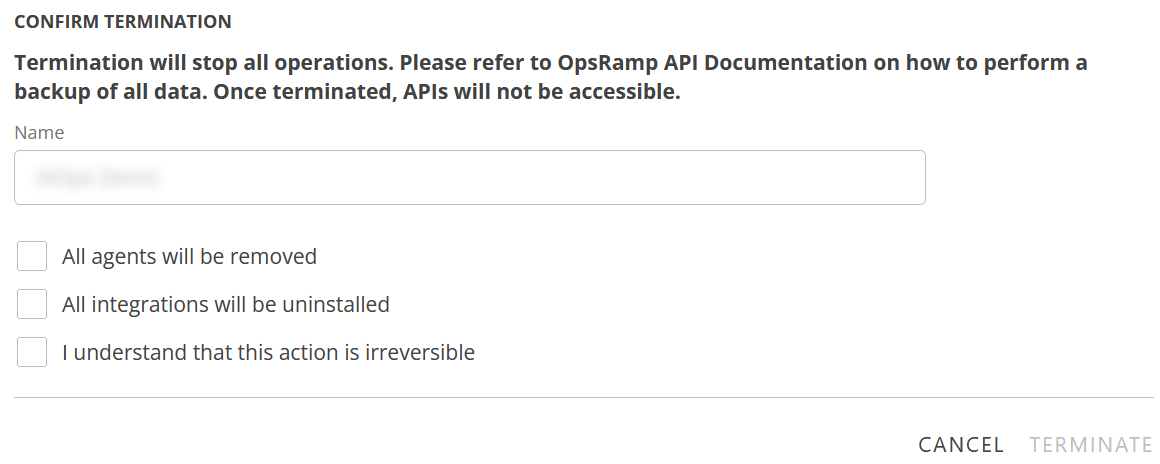
Select Terminate. The CONFIRM TERMINATION dialog box is displayed.
The dialog box provides all information regarding backing up all client data because once terminated without backup, all data will be erased permanently. Note: You can terminate only one client at a time.
Provide the following information in the dialog box:
Enter the client name (as shown in the box) in the Name box.
Select the checkboxes against the information provided. Note: All fields are mandatory.
Click TERMINATE to confirm you want to terminate the client. The client is terminated and all data related to the client is erased. The client cannot be activated again. Also, all the users will go into Inactive state.
Export
The export functionality lets you export client information as a report, in XLSX format.
Prerequisite: User should have Manage Report and View Integrations permissions to export client details.
Follow these steps to export client details:
Click Setup > Account. The ACCOUNT DETAILS screen is displayed.
Click Clients tile.
In the CLIENTS LIST screen, click Export icon.
Note: A popup appears asking you to install the app, if it is not already installed. If the app is already installed, the screen is redirected to the TENANT DETAILS reporting app screen.
Click INSTALLAPP. The REPORTING APPS OVERVIEW screen is displayed.
Click AVAILABLE tab.
Click ADD in the Tenant Details card. The App is successfully installed and a confirmation message appears.
Navigate to CLIENTS LIST screen and click Export icon.
The TENANT DETAILS reporting app screen is displayed.
The configuration properties in the TENANT DETAILS app are auto-filled with the export data.
The report generation process is initiated. The progress depends on the data and the configuration parameters.
Select attributes (maximum of 20) and tags from the filter criteria, if required, and click RUN AGAIN.
Click the action (three dots) icon in the upper right corner of the screen and select Download XLSX. The report is downloaded in XLSX format on your local computer. You can also save the report as Analysis.
The Notes feature allows you to efficiently document and manage important information at the client level. You can create, edit, and delete notes associated with specific clients or resources. This helps you to keep a record of all the information in one place.
Follow these steps to access Notes:
Click Setup > Account.
From ACCOUNT DETAILS screen, click 0 under NOTES. The count will show 0 as there are no notes added.
From NOTES dialog box, scroll down and click +NOTE.
Enter the following information in the ADD NOTE screen.
Field Name
Field Type
Description
Subject
String
Enter a subject for the note.
Enter Description
String
Provide a description. You can use the formatting tool bar to format the text.
Validity Time range
Date Picker
Use the date picker icon to provide the validity time range. To select a time range:
Click the date picker icon, hover the mouse and select the date range.
Click APPLY.
Note: If you do not select any date range, Never Expire will be set by default.
Click SAVE. A successful message appears, and the note is added in NOTES screen.The newest note is displayed at the bottom of the screen.
Edit a note
Follow these steps to edit a note:
From NOTES screen, click EDIT available under the note.
Make the necessary changes and click SAVE.
Remove a note
To delete a note:
From NOTES screen, click REMOVE available under the note.